Speak with an Instrument Expert during business hours!
Business Hours:
Mon-Fri: 8:30am - 5:00pm
Sat-Sun: Closed
You Call, We Answer!
Email us directly
More Information
1-800-826-5482
support@goldtonemusicgroup.com
Find A Dealer
Return Policy
Warranty Registration
Return Authorization (RA)
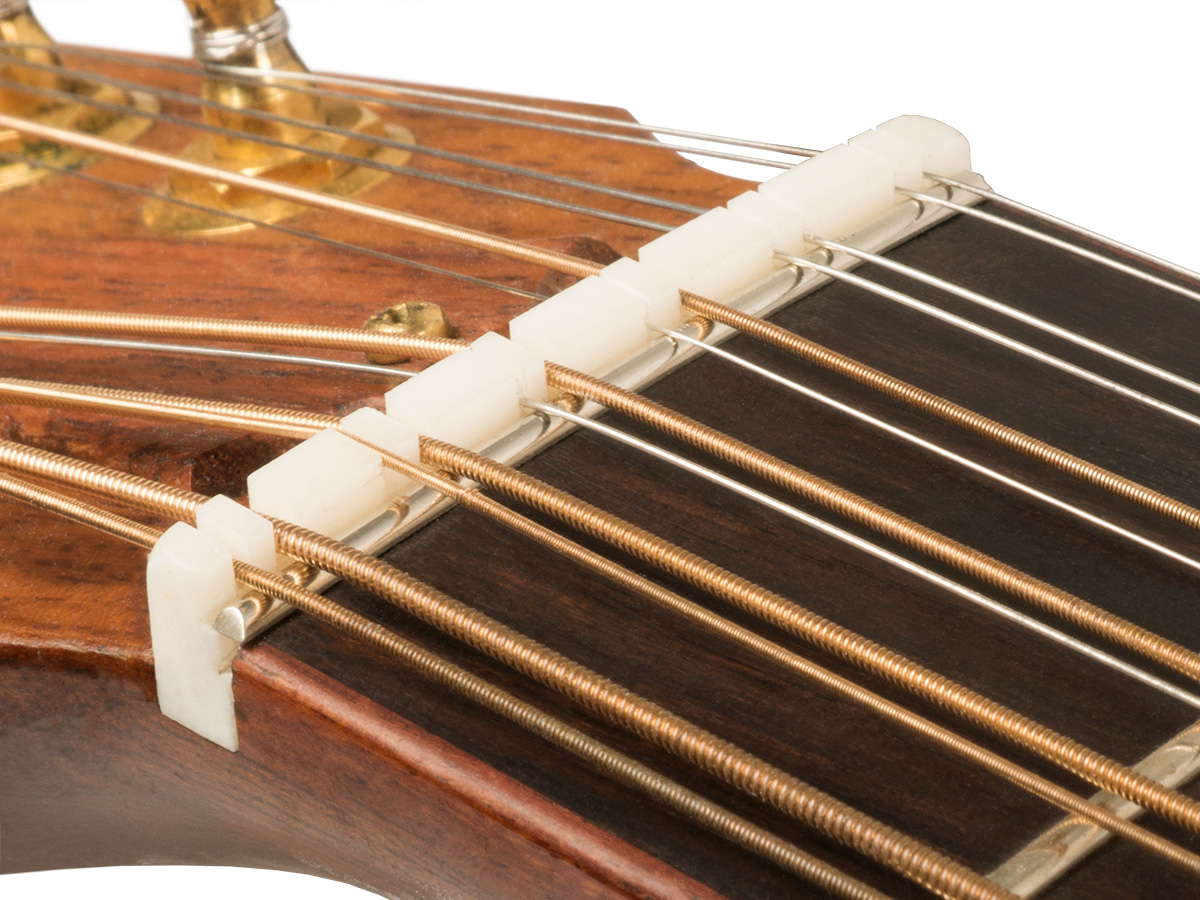
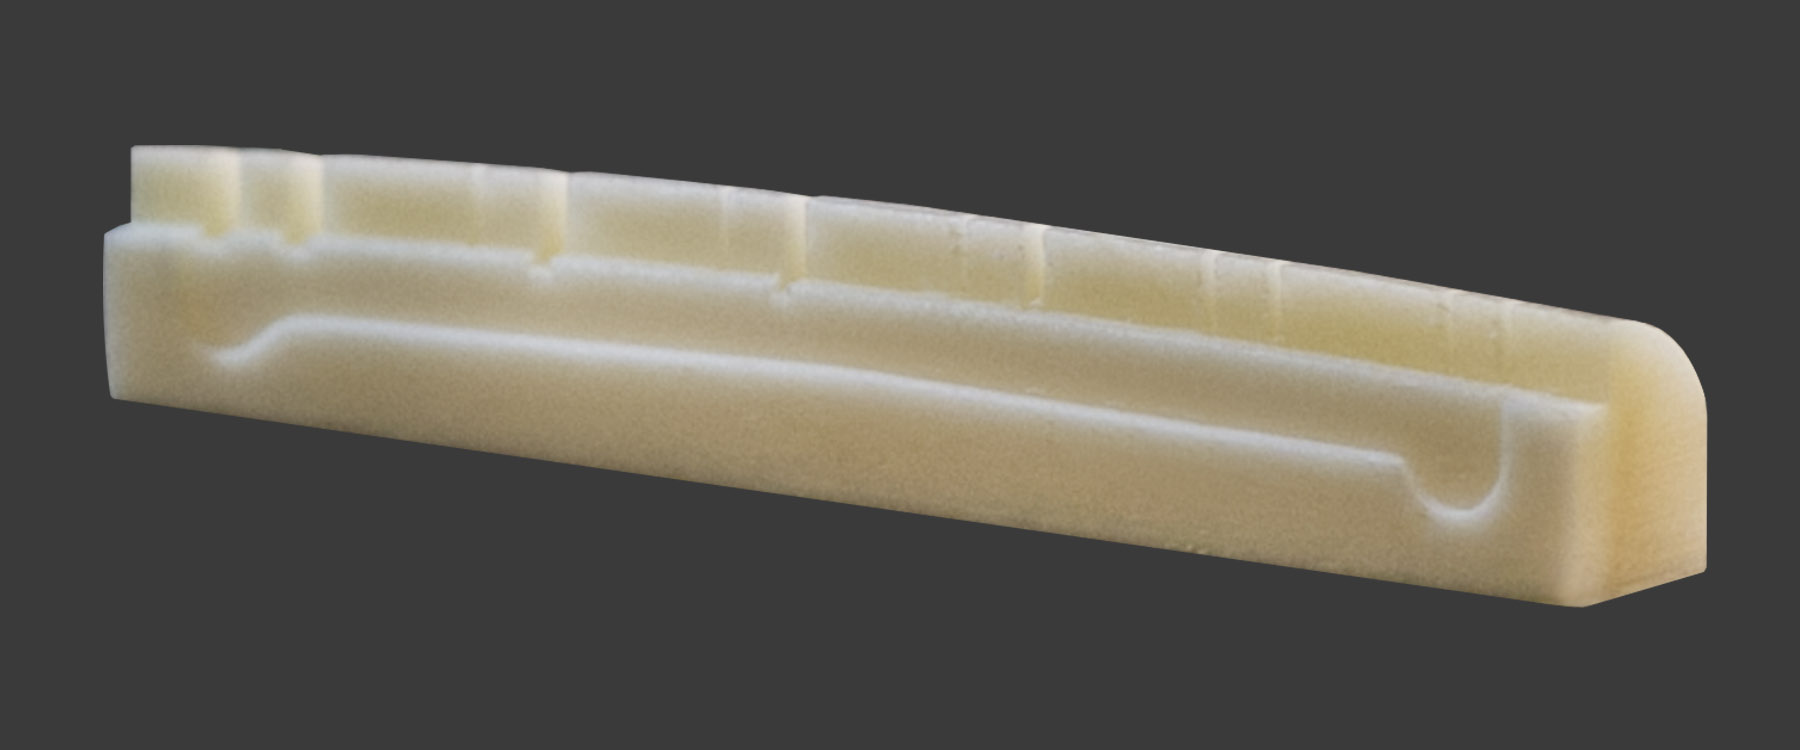
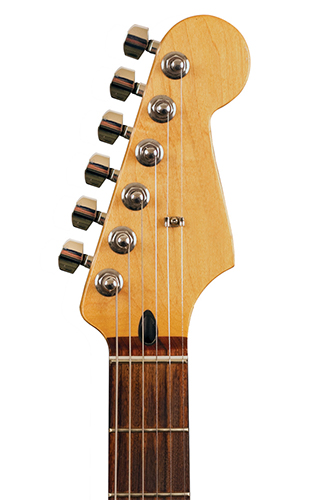
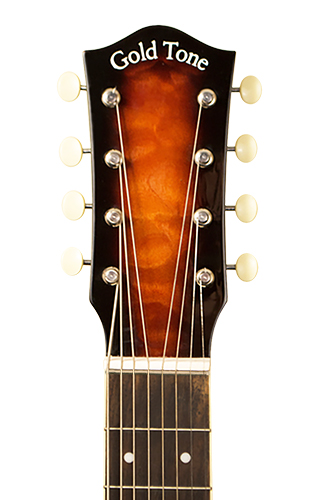
The Zero Glide Replacement Nut System borrows the "zero fret" concept to reduce string contact in the nut by up to 93%, increasing tuning stability, playability, and open string tone. It only takes a few minutes to install with absolutely no permanent alteration to your instrument. For 12 String Guitar (For Taylor Guitars).
Also available in Black Delrin.
I have 3 instruments with a Zero Glide nut that I play regularly on shows and in jam sessions. My Gold Tone OB 150 has one as standard equipment from Gold Tone. Next is my Martin D custom Acoustic and next is my Washburn M3SWK F body mandolin. I did the install on those last 2 instruments. YES, you WILL have to do some fitting. Follow the instructions to the letter on this. YES, you may find it to be a pain but the gain is more than worth it. Once the Zero Glide is installed and once you start playing a few tunes, you will wonder why you have not installed a Zero Glide nut a lot sooner.
No more string binding issues, no more graphite in the slots or any grease either. You don't need that stuff anymore. No need for nut slot files either with a Zero Glide unless you get one un-slotted. You will still have to fit the Zero Glide nut so you can make it a part of your instrument. No getting around that. It is all part of the fun so enjoy the pain and take your time with the fitting. Once that is done, the action at the first fret will be perfect. Your tone will be better. You will get some sustain you haven't had before. The Zero Glide nut should be the ONLY nut to go on your instruments. I like what it does for playability and tone.
"