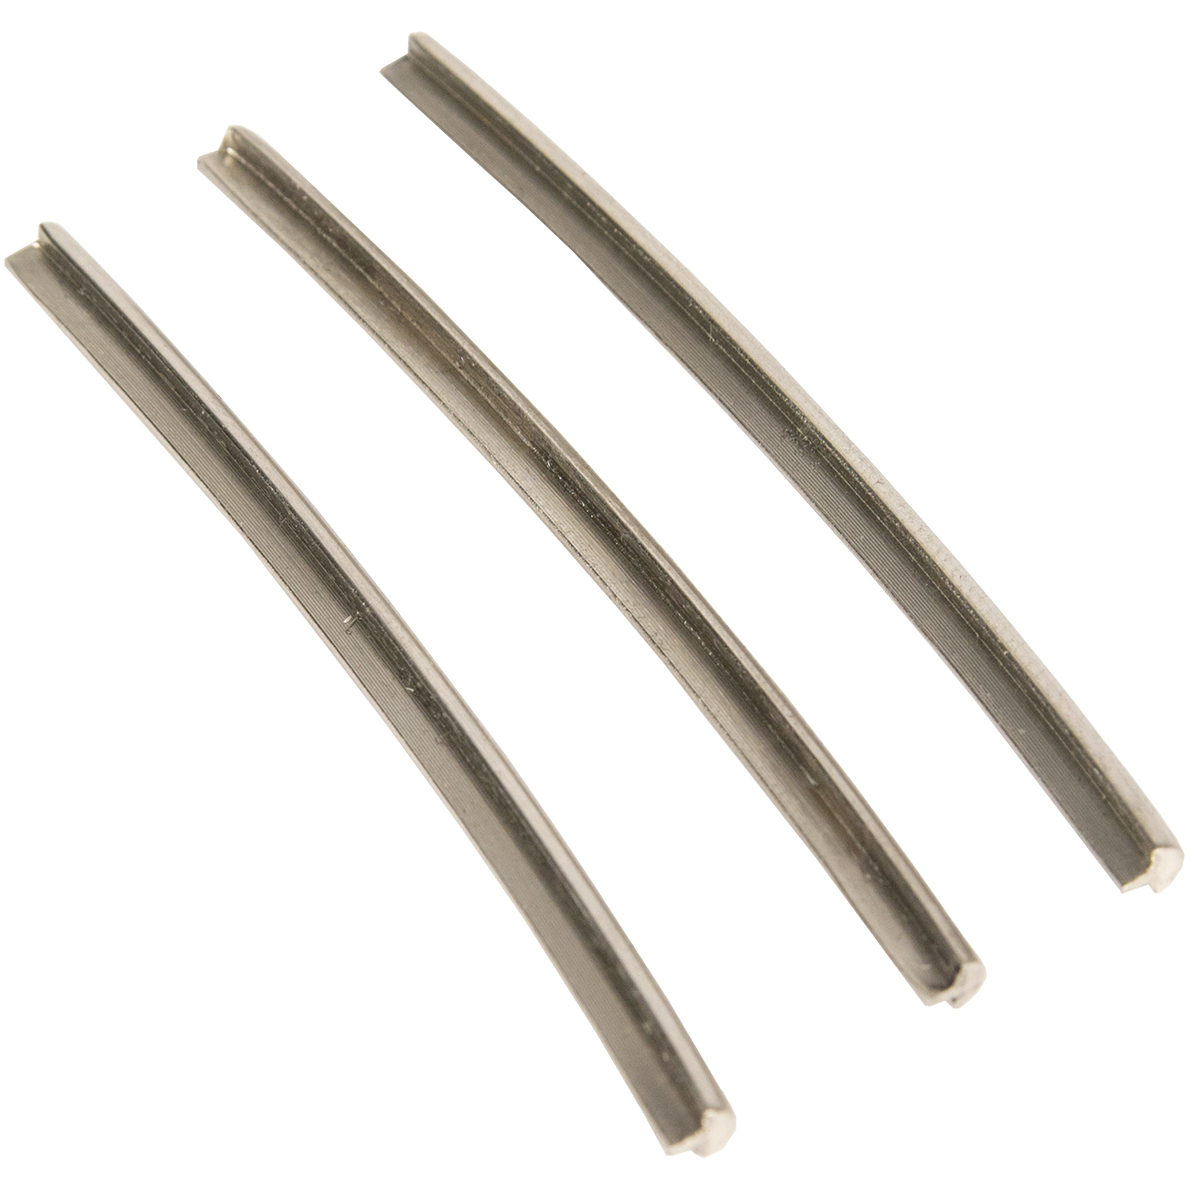
Per customer request, we are now proud to offer stainless steel Zero Glide frets! These frets basically do not wear out. This means they require no maintenance and never need to be replaced. Not only that, the stainless frets improve performance for tuning and bends. These frets are specially designed with an offset tang for our Zero Glide nut system. Comes in a pack of 3.
Available in Medium (.038"), Jumbo (.051"), and Super Jumbo (.058"), or an assorted pack of each size.


I put this on one guitar i built and promptly bought another for another guitar. Awesome product. Use them!


This is one of those things that you ask yourself why has no one thought of this before, but it likely would have been very difficult to produce on a volume scale without CNC machines.......I put the ZB4 on a Washburn parlor guitar and was amazed at the difference in tone clarity, sustain and definition as well as tuning stability and the lowest possible action.........What more could you ask for for one single mod??.....Zero Glide makes several different sizes etc to fit just about any guitar, so be sure you get the right model for your instrument. The unslotted ZB4 requires slotting, so it does require some skill and proper files. I would recommend letting a tech install if you have no experience or tools. I do predict that some of the major instrument makers will be using this in the near future. Why did'nt I think of this. JB/Texas