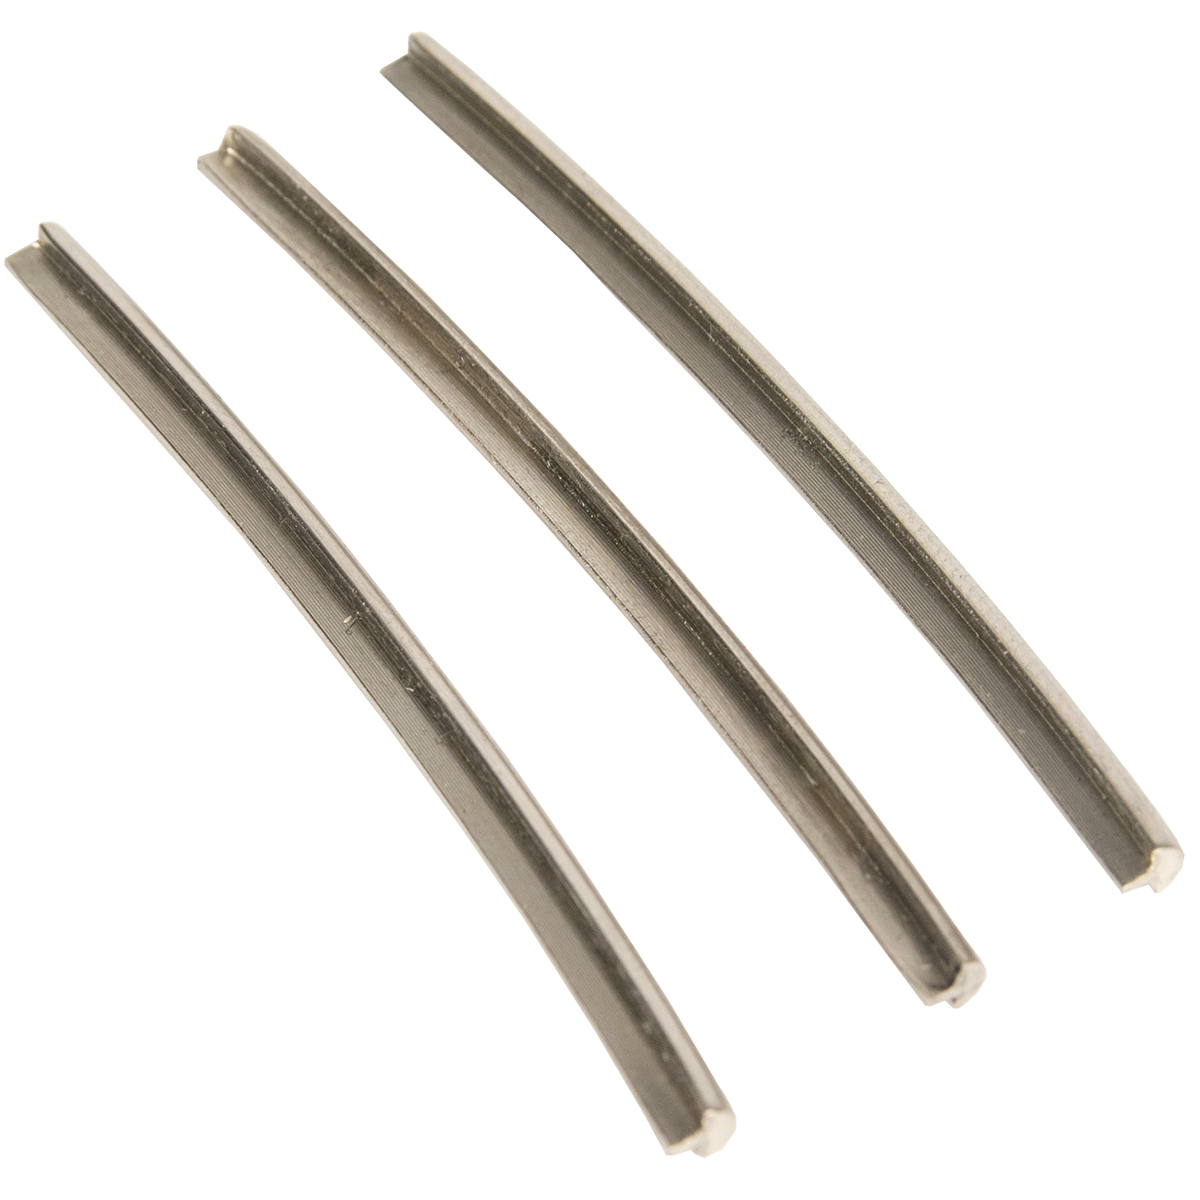
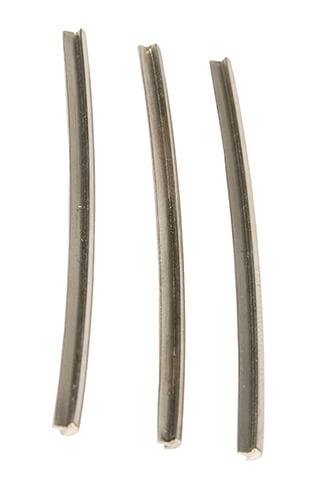
Per customer request, we are now proud to offer stainless steel Zero Glide frets! These frets basically do not wear out. This means they require no maintenance and never need to be replaced. Not only that, the stainless frets improve performance for tuning and bends. These frets are specially designed with an offset tang for our Zero Glide nut system. Comes in a pack of 3.
Available in Medium (.038"), Jumbo (.051"), and Super Jumbo (.058"), or an assorted pack of each size.
My circa 1997 American Standard Strat always had a problem with staying in tune after whammy bar use. I tried pencil graphite and different string sizes with not much luck. I put this nut on and a set of Gotoh locking tuners and now it seems to stay in tune very well.
I purchased a '97 Squier Vista MusicMaster Bass locally. The stock plastic nut needed replacing or filing. I had already pulled the nut off of the MusicMaster and had all measurements noted before replacing the stock nut temporarily. The Zero Glide ZS-17F Precision Bass Precision Bass model specs matched up with the MusicMaster specs. Cool. After my Zero Glide arrived I pulled the stock nut and lightly sanded the nut slot on the fretboard with fine sandpaper to remove any debris or adhesive residue used on the stock nut. Next I slid the Zero Glide nut onto the fretboard. Nice snug fit. The width of the Zero Glide was perfect. My next step was to make sure that the top / flat surface of the nut was flush with the fretboard. This is crucial to allowing the fret to seat correctly on both the fretboard and the zero fret nut. On my MusicMaster this required a very thin shim under the Zero Glide nut. Once the nut was seated properly it was just a matter of selecting which of the fret sizes provided is required for the instrument. In my case this was the longest installation step time-wise. Once you have selected the proper fret, mark the fret and cut with the proper tool. Examine the cut end of the and correct any imperfections due to cutting on the tang of the fret by filing. A small bench top vise with padded jaws and high quality file makes this step a snap. Installation time in my case : - shimming me the nut, less than 10 minutes - selecting the correct fret size, 45 minutes - all filing on the fret ends and top corners of the nut, less than 15 minutes I'm very pleased with the results. The open string notes sound like fretted notes of course, and I was able to achieve noticeably lower action without fret buzz after a setup. I'm especially pleased with the improved note definition of the open E and A strings. I did not check the intonation with the stock nut on the 1st five or so frets before I installed the Zero Glide, but the intonation is fine on the lower frets. My order was processed and shipped promptly and Gold Tone customer service is excellent. Thanks for a great product !
The bone nut was easy to install. I sanded the length and depth with a table sander. The instructions are complete and easy to follow. Four zero frets of different sizes are included in the banjo kit--you try the smallest and work your way up until you have no open string buzz. Use medium viscosity cyanoacrylate (available from Stewmac) so you have time to set the nut and fret properly. I'm pleased with the results, improved tone, and hammer-ons and pull-offs are more defined.
I've used this for over a month and I'm more happy now than when I first installed it. The intonation on my acoustic is better than it ever was...you can fine tune the saddle almost dead on for intonation. One suggestion.....be sure to glue in the zero fret with a few drops of glue once you get the guitar right. I was working on my guitar on and off for a month and didn't glue in the zero fret. I was taking the strings on and off. Every time you reinstall the zero fret it will be in a slightly different place. String against fret will cause a slightly different indentation in the zero fret. You want the string to stay in the same spot on the zero fret.